
Recipe details
Prep time
40
min
Cooking time
30
min
Total time
70
min
Ingredients
For the lemon sponge:
- 90g unsalted butter at room temperature,
- 90g golden caster sugar,
- 130g plain flour,
- 1.5 tsp baking powder,
- 1/4 teaspoon salt,
- 2 eggs,
- The zest of 2 lemons + 1 tbsp lemon juice,
- 50g greek yoghurt.
For the strawberry frosting:
- 90g strawberries (hulled and quartered, about 3 large strawberries),
- 220g icing sugar,
- 115g unsalted butter at room temperature,
- 1 teaspoon vanilla extract.
To decorate: have extra strawberries sliced and ready.
Instructions
- Start by baking the sponge. preheat your oven to 170ºc and grease your cake tin or tins.
- Beat the butter and sugar together until light and fluffy, about four to five minutes. Add the eggs one at a time, scraping down the sides of the bowl after each addition.
- Stir in the lemon zest and juice.
- Gently fold in the flour, baking powder and salt, then mix in the greek yoghurt until the batter is smooth.
- Spoon or pipe the batter evenly between the tins. For mini sponges, bake for around 20 minutes. For larger sandwich sponges, bake for roughly 30 minutes or until a skewer inserted into the centre comes out clean. Let the cakes cool completely.
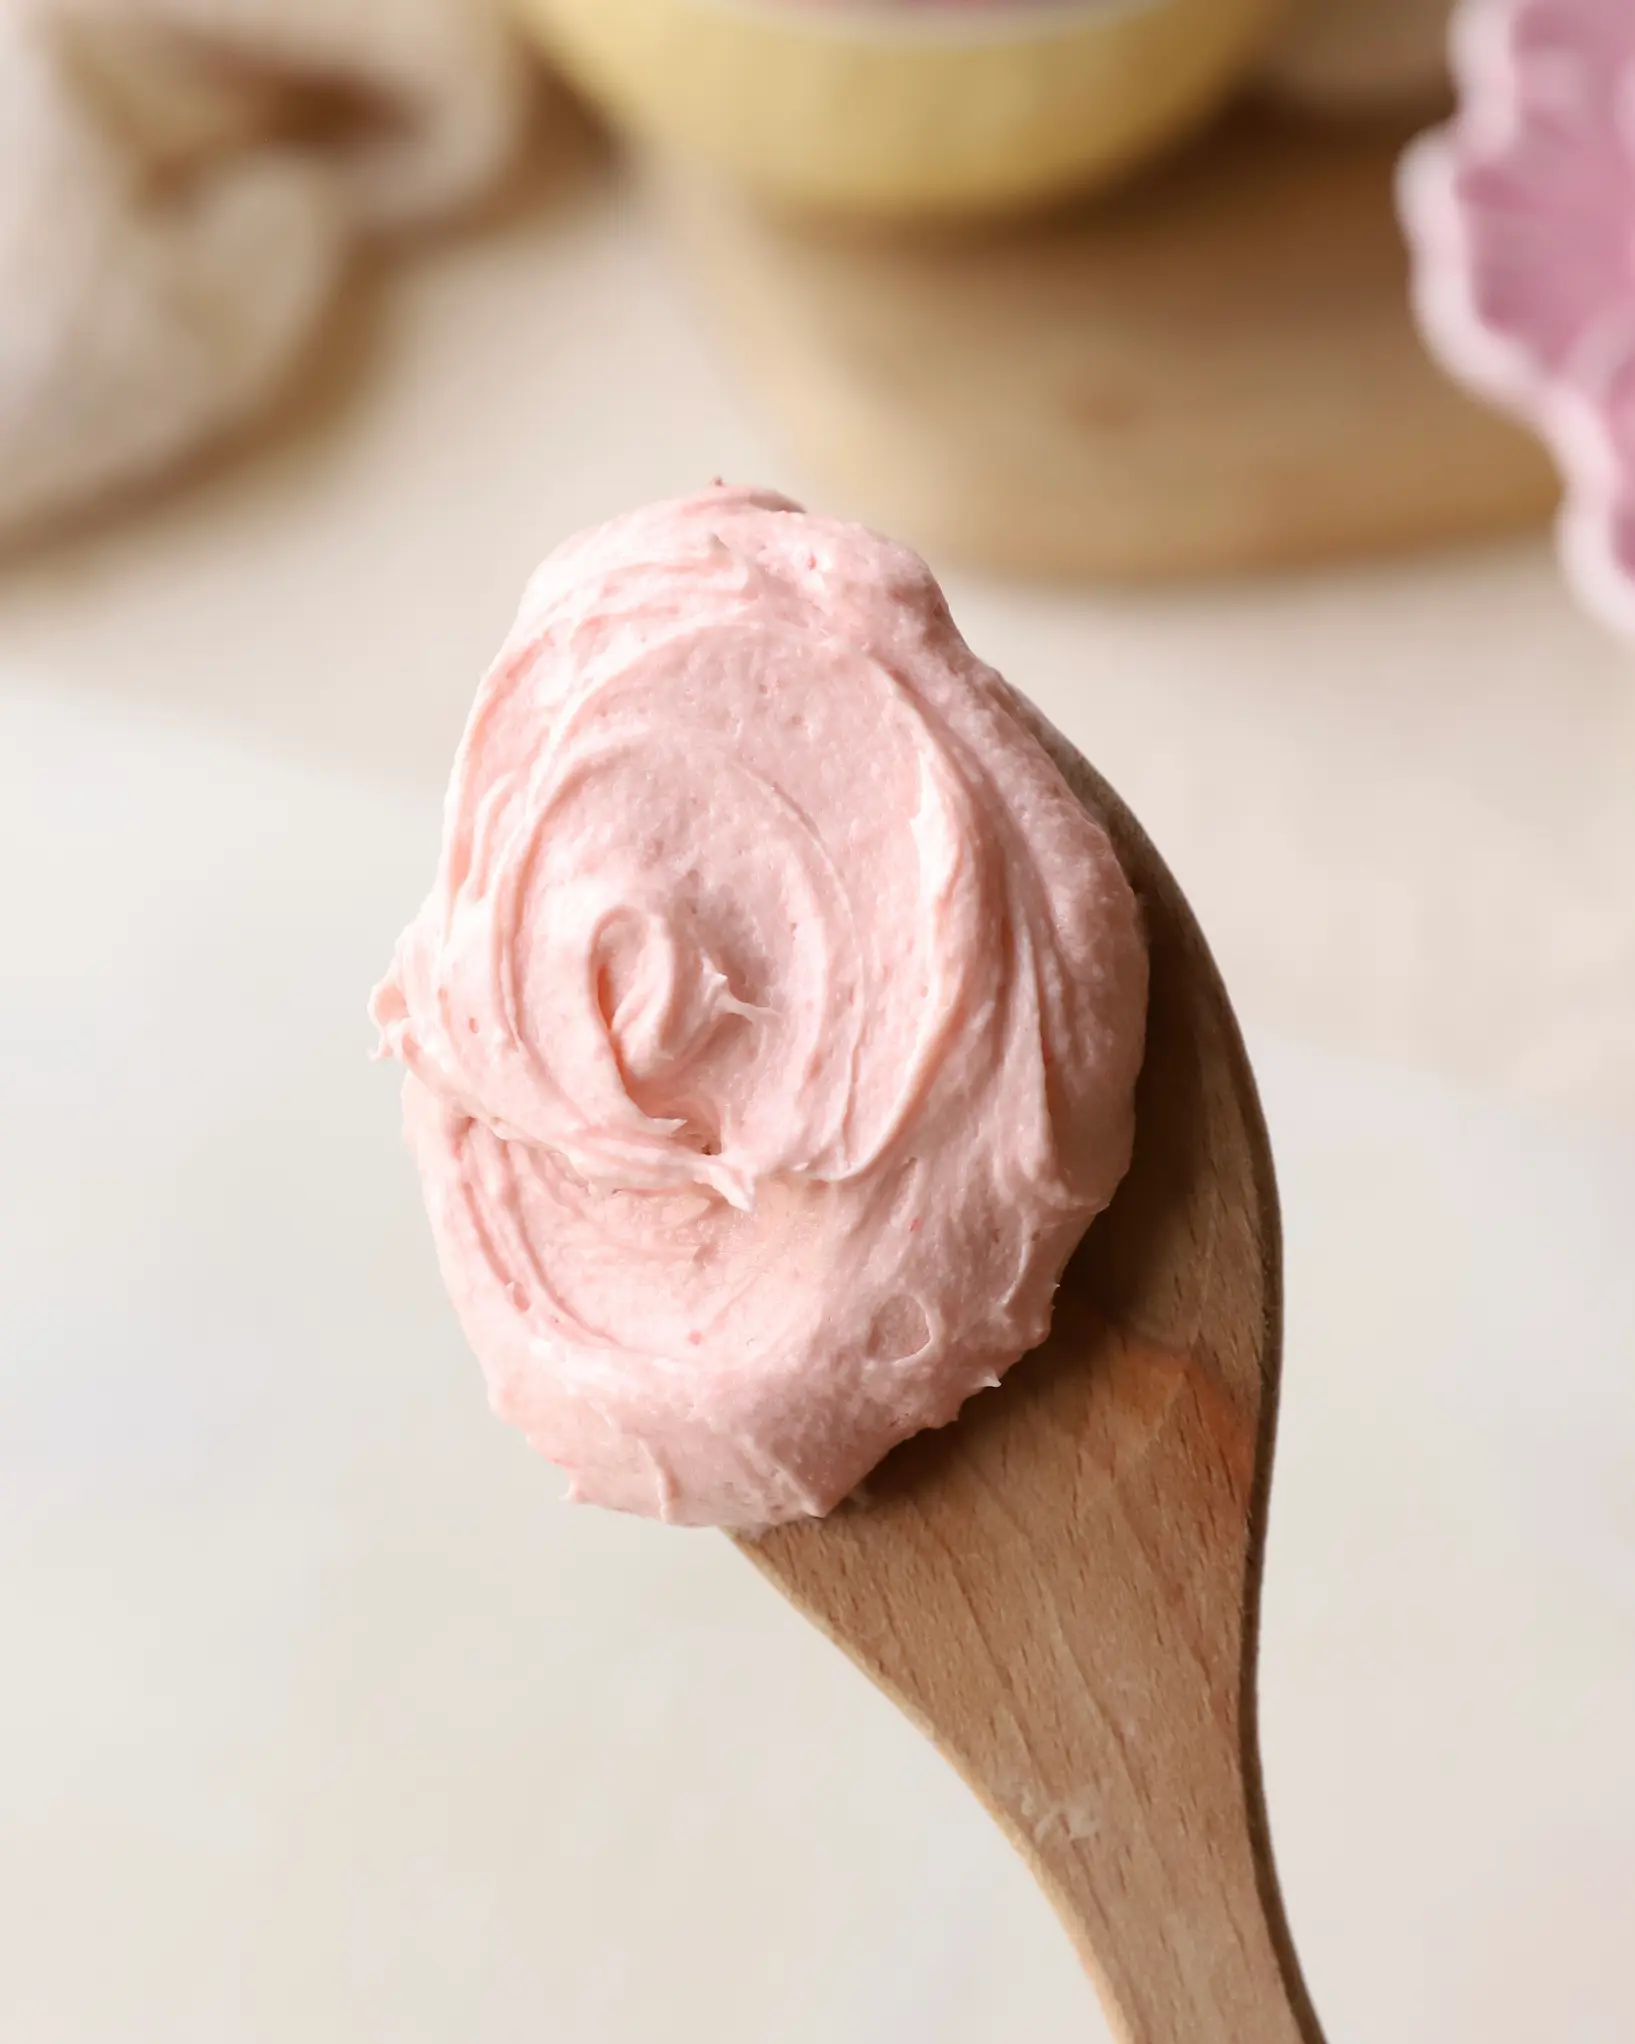
- To make the frosting, blend the strawberries until smooth.
- Pour the purée into a small pan and simmer on low heat until it reduces by half and thickens slightly.
- Beat the butter until smooth, then add one third of the icing sugar. Once combined, mix in one third of the strawberry reduction and the vanilla extract. Repeat until all the ingredients are used. Adjust the consistency if needed by adding a splash of milk to loosen or a little extra icing sugar to thicken. You’re aiming for a soft, fluffy, and easily spreadable texture.
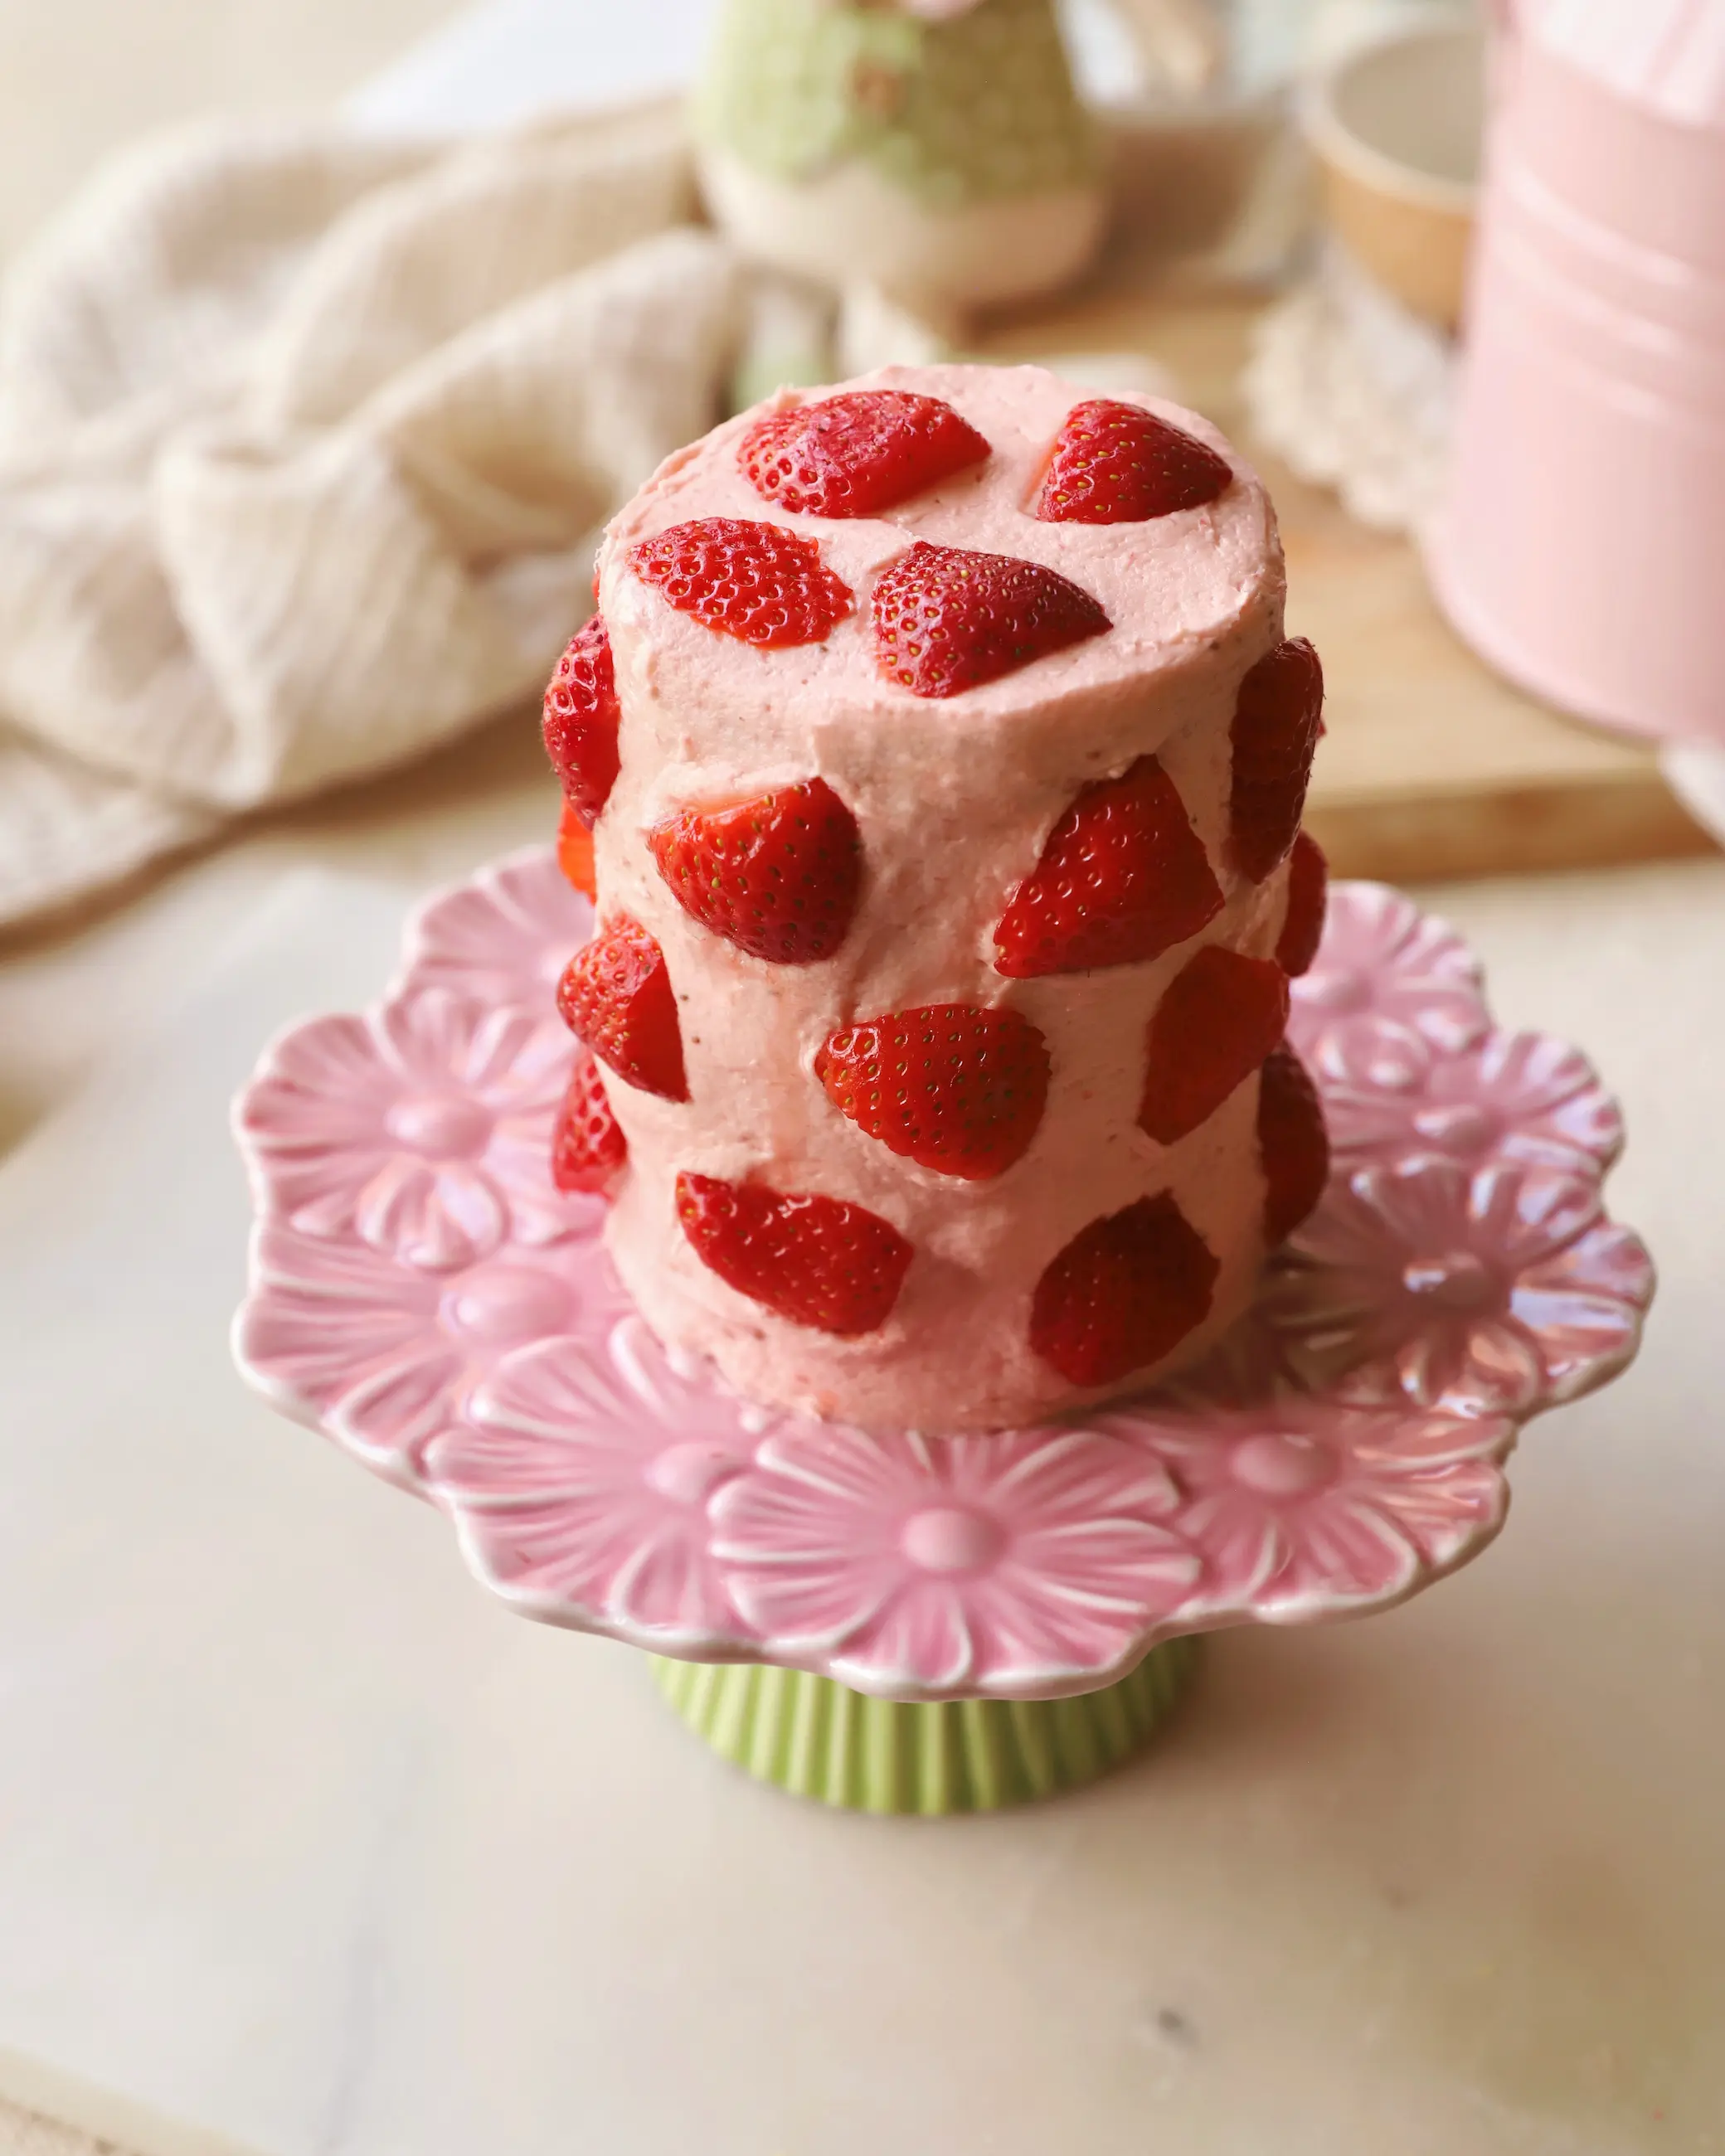
- Trim the cooled sponges if necessary, then layer with frosting. Once the tiers are stacked, ice the outside, smoothing and levelling as you go. Decorate with the sliced strawberries and serve. Due to the fresh fruit content, this cake is best enjoyed within 24 hours. Store any leftovers in the fridge overnight and hold off decorating until just before serving.
Can I make a larger version?
Absolutely! This recipe makes enough for three small layered sponges like the ones shown here, or a single layer sponge cake. You could also bake in a brownie tin and cut out the cake circles, or even make a traybake. If you’d like to make a two-tier sponge, simply follow the same method with sandwich tins and double the ingredients.
Reasons why a mini Celebration Cake is a good idea!
- First, there are no leftovers unless you want them. Mini cakes are just the right size for a few people, so you won’t end up with half a cake sitting in the fridge all week (unless that’s the goal, of course).
- They’re also much faster to bake and decorate. Smaller cakes cool quickly, are easier to ice, and come together in less time – ideal when you want something special without spending hours in the kitchen.
- They're easier to transport and style, which makes them perfect for dinner parties, picnics or gifting. Pop one on a small plate and you’ve got an instant showstopper.
- Mini cakes are also more budget-friendly, since they use fewer ingredients – perfect if you’re using premium flour, butter, or seasonal toppings.
- They’re ideal for smaller, more intimate celebrations – birthdays for two, anniversaries, Mother’s Day, or simply treating yourself at the end of a long week.
- Despite their size, mini cakes still deliver big on impact. You get all the joy of a celebration cake in a smaller, sweeter package – and they often look even more charming.
- They’re also great for testing out new flavour combinations or decorating ideas. There’s less pressure, and it’s a fun way to try something different.
About the author


